Friday, 27 May 2011

Lemon Meringue Pie and a naughty chocolate and raspberrie jam one...

I am really not gifted for anything pastry. It is rather the domain of my dear mother. I have therefore researched the Internet to find ideas for Lemon Meringue Pie, my friend Patricia has asked me to try.

I found more than 20 recipes and it really took me use to me all my "self control" not to try all of them. I also decided that instead of a big pie I would be making smaller versions.

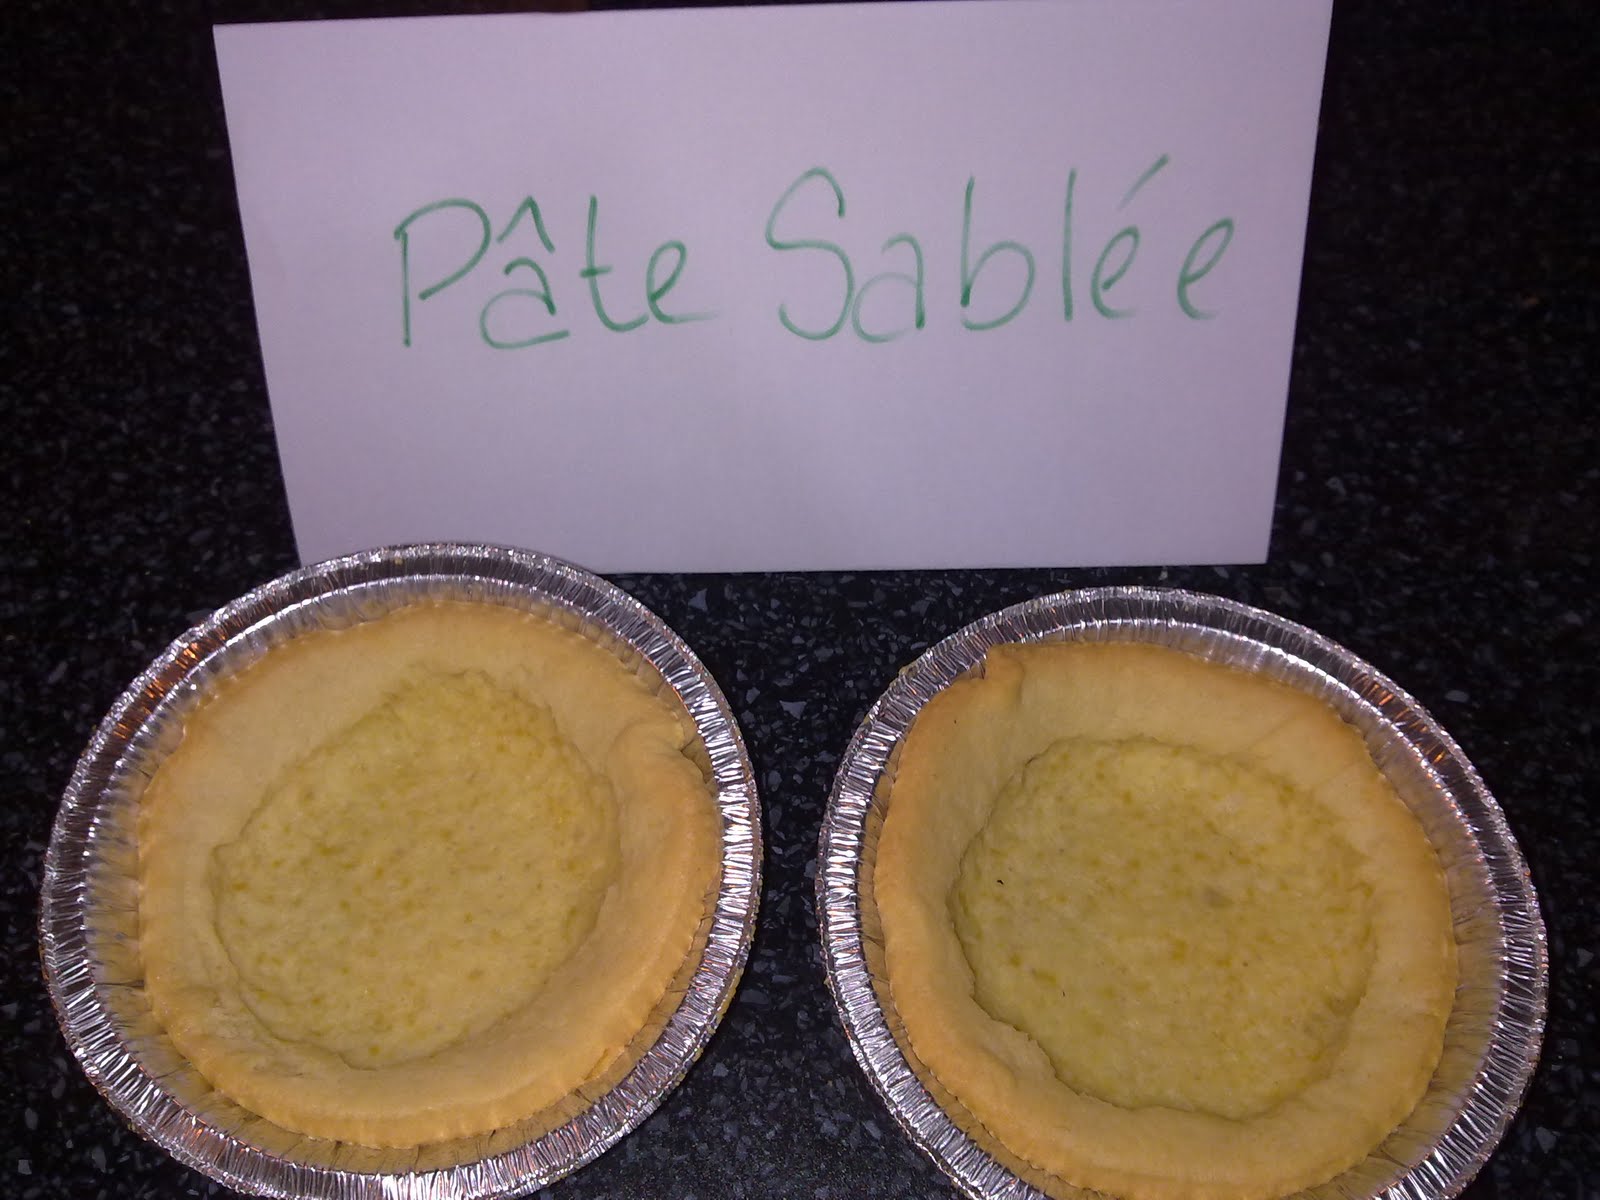
So here is what I concocted. Half of the tarts were made with buttery puff pastry and the other half with sweet shortcrust pastry. I did not take any pictures of the making of puff pastry because I heard so many horror stories about making it that I had to concentrate very hard and therefore I did not have the time.


I have used French website for the pastry recipes I used this website: www.cakeinthecity.blogspot.com and www.patiss.com. But Dean Brettschneider’s website offers both recipes that are very similar (the quantities vary but the execution is the same): http://www.nzbaker.co.nz/pastries.htm.

If I could add a little tip that I use and that i find very good for pastry. Since the butter needs to be ice cold, it can be a little difficult to work with and especially to crumb with flour. I have found that grating it (with a cheese grater) always helps. The part that you have to hold needs to stay in the wrapping to prevent the butter from melting too quickly.

For the lemon cream: http://www.meilleurduchef.com/cgi/MDC/l/FR/recettes/index_ill.html. Another French website. It is a lemon curd recipe but I thought this was pretty easy to execute that’s why I went for this one. So here is the translated recipe:


Put aside the zest of 3 lemons and their juice. In a bowl (not plastic), mix the lemon juice, the zest, the (150g) sugar and the (3) whole eggs.
Place the bowl over a pan of boiling water. Now, this is the trick for making curd: DO NOT TAKE YOUR ATTENTION AWAY FROM THE CURD!!!! Keep moving it with a wooden spoon. I used the same technique I used when I make custard. To make sure it is cooked, I coat the back of the spoon and then with my finger I separate it. If the mixture doesn’t move the custard/ curd is cooked.
Add 30 grams of butter at the end and leave it to cool a little. Place a plastic wrap so it touches the top of the curd to avoid a skin building over it.

And for the meringue… It is possible to make a simple meringue, beat the whites of eggs in soft peak and slowly add sugar until the egg whites are shinny. Personally I prefer the Italian meringue. The only difficulty is that you need to have a stand up mixer or someone to help you. I found this wonderful recipe by Tyler Florence:

Ingredients
• 1 cup superfine sugar
• 1/3 cup water
• 5 egg whites, at room temperature
• 1/4 teaspoon cream of tartar

Directions
In a small pot over low heat, combine sugar and water. Swirl the pot over the burner to dissolve the sugar completely. Do not stir. Increase the heat and boil to soft- ball stage(235 to 240 degrees). Use a candy thermometer for accuracy. Wash down the inside wall of the pot with a wet pastry brush. This will help prevent sugar crystals from forming around the sides, falling in and causing a chain reaction. Prepare your meringue.

In the bowl of an electric mixer, whip the eggs whites on low speed until foamy. Add the cream of tartar, increase the speed to medium, and beat until soft peaks form.

With the mixer running, pour the hot sugar syrup in a thin stream over fluffed egg whites. Beat until the egg whites are stiff and glossy. Spread the meringue over a hot cake or pie, and put in very hot oven until it's caramelized.


For the verdict: for the moment, the only one who has tasted a pie is my husband. He did not want the meringue top, instead he poured some fresh cream and stated that it was the best pie lemon that he has ever eaten. I have taken them to work for my last day (I officially am a full time Mum now) and I'll post other comments after my colleagues have tasted them...

I was really disappointed when I got them out of the container. I didn’t let them cool down enough and the pastry went soggy .


I also had another one with the rest of pie crust and I decided to try another pie: pie with chocolate and raspberry jam. My husband on the other hand stated that it was too sweet and the next time I should use raspberries and not jam. It would also been better after a whole night in the fridge. If you want the recipe, do not hesitate to ask.

Thursday, 26 May 2011

Tarte au citron meringuée et une chocolat framboise

Je ne suis vraiment pas douée pour tout ce qui est pate a tarte. C’est plutôt le domaine de ma chère Maman. J’ai donc cherché Internet de fond en comble pour trouver des idées recette pour la tarte au citron meringuée que mon amie Patricia m’a demandé d’essayer.

J’ai trouvé plus d’une vingtaine de recette et il m’a vraiment fallu utiliser tout mon « self control » pour ne pas toutes les essayer. J’ai aussi décidé de faire des tartelettes au lieu d’une grosse tarte donc le temps de cuisson sera différent.
Donc voici ce que je concocté. La moitié des tartelettes ont un font de tarte brisée et l’autre moitié avec une pate sablée sucrée. Je n’ai pris que des photos de la confection de la pate sablée parce qu’il a fallu agir tellement vite avec l’autre pate que j’ai du me concentrer très fort pour l’exécuter et donc je n’ai pas eu le temps.


Pour la recette de pate brisée j’ai utilisé ce site Internet : www.cakeinthecity.blogspot.com
Pour la pate sablée sucrée celui-ci : www.patiss.com.
Pour la crème au citron : http://www.meilleurduchef.com/cgi/mdc/l/fr/recettes/index_ill.html


Et pour la meringue… Il est possible de faire une simple meringue, battre les blancs d’œufs en neige et ajouter lentement le sucre jusqu'à ce que les blancs deviennent brillants. Personnellement je préfère la meringue italienne. La seule difficulté est que si vous n’avez qu’un batteur à main vous aurez besoin de quelqu’un pour vous aider. J’ai trouvé cette superbe recette de Tyler Florence.


Ingrédients :

1 tasse de sucre
1/3 tasse d’eau
5 blancs d’œufs a température ambiante
1 pincée de sel

Dans une petite casserole, mélanger le sucre et l’eau. Remuer la casserole un peu jusqu’a ce que le sucre soit complètement fondu. Ne pas remuer a la cuillère. Augmenter la température et faites bouillir le mélange. Le mélange doit arriver a une température d’a peu prés 240 degré Celsius ou au stage de petit boulé ( ?).

Battre les blancs en neige jusqu'à qu’ils commencent a peine ferme et verser doucement (une petit filet) du sirop de sucre. Une fois tout le sirop verser, battre les blancs d’œufs jusqu’au refroidissement complet.

Déposer la meringue sur la tarte au citron ou bien avec une poche a douille, une poche plastique ou une cuillère.

Passer au four tres chaud jusqu'à ce que la meringue caramélise.Et voici le resultat:


Pour le verdict : pour le moment, le seul qui a gouté a une tartelette est mon mari. Il ne voulait pas la meringue dessus, a la place il a versé de la crème fraiche et a déclaré que c’était la meilleure tarte au citron qu’il ait jamais mangé. Demain je les emmène au travail pour mon dernier jour (je deviens officiellement Maman a plein temps) et je posterai d’autres commentaires de la part des mes collègues…

J’avais aussi un reste de fond de tarte et j’ai décidé d’essayer une autre tarte : Tarte au chocolat et confiture de framboise. Mon mari en revanche a déclaré qu’elle était trop sucre et la prochaine fois je devrais utiliser des framboises et non la confiture. La tarte aurait aussi ete meilleure si elle avait pu rester au frais au moins toute la nuit. Le chocolat n'a pas eu le temps de figer.


Si vous voulez la recette, n’hésitez pas a demander.

Wednesday, 18 May 2011

Assez inhabituel- Tarte salée: Boeuf et champignons

Il a quelques semaines de cela, mon amie Patricia m'a demandé d'essayer quelques recettes dont la suivante : boeuf et champignons Pie. Je ne fais habituellement beaucoup de cuissons salées. J'ai cherche sur Internet une recette mais ne pouvais pas vraiment trouver mon bonheur, donc comme d'habitude que j'ai décidé de faire ma propre recette. Maintenant, ce n'est pas de la « haute cuisine », mais j'ai pu faire cette tarte avec la plupart des ingrédients déjà dans le garde-manger ce qui marche pour moi.


Ingrédients
-1 C. à soupe d'huile (j'ai utilisé l'huile de canola)
-1/2 oignons, coupés en rondelles
-1 c. à thé d'ail (j'utilise ceux en pot)
-200 g de champignons frais (environ)
-boeuf 1 kg, coupé en dés (type soupe)
-1 carré de bouillon en poudre
-2 cuillerées à thé de farine
-De l’eau
-Sel
-Poivre
-Pâte brisée (achetée)
- Pâte Feuilletée (achetée)


Étape 1 :
Préchauffer le four à 200 degrés c.
Dans une poêle, conditionnés l'huile à la chaleur. Ajouter l'oignon moitié tranchés et l'ail et laisser réduire jusqu'à souple et transparente.


Étape 2 :
Retirer l'oignon et l'ail et de les mettre de côté pour l'instant. Augmenter le feu et ajouter la viande en 4 portions pour la colorer. Si vous ajoutez trop à la fois, elle va bouillir et être sèche.


Étape 3 :
Baissez le feu, ajouter l'oignon et l'ail à la viande et ajouter les champignons. Assaisonner à votre gout, mettre le couvercle et laisser cuire lentement. Une fois que la viande est cuite, égoutter la et placer la sur un plateau ou une assiette pour la faire refroidir. Vous devez laisser refroidir de la viande sinon la pâte deviendra collante.


Étape 4 :
La sauce : mélanger la farine avec environ 2 cuillères à soupe d'eau froide jusqu'à l’obtention dune pâte lâche. Si vous avez assez jus de cuisson de la viande, ajoutez la farine et laissez épaissir à feu doux, sinon ajouter de l'eau en s'assurant de ne pas trop dilué, ou ajouter le cube de bouillon de boeuf. Gouter et assaisonner.

Étape 5 :
Etaler la pate brisée dans le fond et sur les cotes du plats. Deposer la viande et la sauce par dessus. Brosser le haut de la pâte avec du lait (ou beurre ou un œuf battu) pour qu’elle adhere à la pâte feuilletée.


Étape 6 :
Couvrir la tarte avec la pâte feuilletée et coller les 2 pates, de façon a ce que la tourte soit étanche, presser les 2 pâtes l’une contre l’autre avec une fourchette. Brosser la tarte avec du lait (ou beurre ou un œuf battu) et décorer si vous êtes que si vous voulez.


Vous pouvez voir mon travail bricolage sur la droite de l'image.

Étape 7 :
Faire cuire dans un four préchauffé à 200 degrés c pendant environ 40 minutes. Puis éteindre le four et laisser une autre 10 minutes... et Tadaaaa!


et une photo de la tourte juste après avoir coupe la première part, on peut même voir la vapeur s’échapper.


Bien sur, je voulais le verdict ce soir, donc même si il était tard, j'ai demander à mon mari, gouteur attitré d’en prendre une part. Il me déteste pour cela mais il m’a dit que c’est la meilleure qu’il est jamais mangé et il s’y connais. Je suis très flattée.

A little unusual for me- Savoury Baking: Steak and Mushroom Pie

A few weeks ago, my friend Patricia asked me to try out a few recipe including this one: Steak and Mushroom Pie. I don't usually do a lot of savory baking and I try my best to stay away from working with pastry (well at least I didn't have to make it). I searched the Internet for a recipe but couldn't really find anything that I could relate to, so as usual I decided to make up my own recipe. Now this is not "haute cuisine", but I was able to make this pie with most of the ingredients already in the pantry so that works for me.

Here it is:

Ingredients
- 1 Tablespoon of oil (I used canola oil)
- 1/2 onion, sliced
- 1 teaspoon of garlic (I use the ones in jar, which seems to do the job for us)
- 200g of fresh mushrooms (approximately)
- 1 kg beef, diced (casserole type of meat)
- Beef stock powder
- 2 teaspoons of flour
- Water
- Salt
- Pepper
- Short crust pastry (store bought)
- Puff pastry (store bought)


Step 1:
Preheat the oven at 200 Degree C.
In a pan, put the oil to heat up. Add the half onion sliced and the garlic and let them reduce until soft and transparent.

Step 2:
Remove the onion and garlic and put them aside for now. Increase the heat and add the meat in batches to brown. If you add too much at a time, it will boil and be dry.

Step 3:
Turn the heat back down, add the onion and garlic to the meat, and add the mushrooms. Season to taste, put the lid on and let it slowly cook. Once the meat is cooked, remove it and lay on a tray or a plate to cool down. You need to let the meat cool down otherwise it will make the pastry soggy.


Step 4:
The gravy: Mix the flour with approximately 2 tablespoons of cold water until it makes a loose paste. If you have enough juices from cooking the meat, add the flour and let it thicken on low heat, otherwise add some water making sure you are not diluted the juices too much or adding some beef stock powder. You need to taste it.

Step 5:
Line the pie (or baking) dish with the short crust pastry. Pour the cool meat, pour the gravy over it. Brush the top of the short crust pastry with milk (or butter, or egg wash) so it will stick to the puff pastry.

Step 6:
Cover the pie with the puff pastry. and stick both together sealing them with a fork. Brush the pie with milk (or butter, or egg wash) and decorate if you are that
way inclined.


You can see my DIY job on the right of the picture.

Step 7:
Bake in a preheated oven at 200 Degree C for about 40 minutes. Then turn the oven off and leave it for another 10 minutes... and Tadaaaa!

and a pic of the steaming hot pie just out of the oven:


Of course I wanted the verdict tonight, so even though it was late, I had to ask my expert husband to taste it while watching the Biggest Loser out of all TV programs. He hates me for it but the pie according to him it was the best pie he has ever eaten and he knows his stuff so I am very flattered.

Sunday, 15 May 2011

"Marie pour la vie" Fundraising cupcakes.

After yesterday's disaster I was a bit anxious about making the fundraising ones today. But I put my head down and focused on Marie and how much I wanted to help. Fingers crossed they will all be bought tomorrow and people will both enjoy the cupcakes but also knowing that they are helping save the life of a little 4 year old girl.
As every good baker, I had to do the taste test (along with my official taste tester, my husband) and they really taste divine... But if you are looking after your figure, I recommend to look away now.

I have made:
- Caramel Mud Cupcakes with Rich Caramel Frosting


Chocolate Cupcakes with Chocolate Frosting:


And Vanilla Cupcakes with Vanilla Buttercream Frosting:


All the recipes are from Tamara Jane's wonderful book "Divine Cupcakes". I have made some adjustments though( otherwise it wouldn't be me baking) that I will send at a later date. Tonight, I might just need a little break.
Next time I will complete the assignments that I have received from the lovely Patricia: Lemon Meringue pie, Pavlova, and a Beef and Mushroom pie (probably not in that order). Those posts will be both in English and in French.

Saturday, 14 May 2011

My cupcake disaster

The Association "Marie pour la vie" has recently created a Facebook page:http://www.facebook.com/pages/Association-Marie-pour-la-Vie/128068007270506 to raise funds to allow little Marie 4 years old to get an operation that could save her life.
I wanted to do my bit and organised a cupcake sale. I wanted to do something fancy. I secretly also always wanted to make the cupcakes in cone. As it happened I found a new cupcake book at the Hard to Find bookstore in Onehunga and there was a recipe in it. Now I'm not sure how Elinor Klivans (the author) did hers but mine turned out to be a nightmare and nothing like they are on the picture. The wmost bizarre thing is that, for oncec, I followed the recipe to the letter, and... well I'll let you judge the result:


Here is the recipe in case someone else wants to try. If you do and your work please tell me where I went wrong. I have another recipe from Tamara Jane that I will try next time. But for tonight I need to concentrate on making my cupcakes for the sale on Tuesday and it's already 10pm.

Chocolate- covered brownie ice cream cone cupcakes
Cupcakes:
12 flat- bottomed ice cream cones
1/2 cup unsalted butter, cut into pieces
3 ounces unsweetened chocolate, chopped
3/4 cup unbleached all- purpose flour
1/2 teaspoon baking powder
1/4 teaspoon salt
2 large eggs
1 1/4 cups of sugar
1 teaspoon vanilla extract
2/3 cup semisweet chocolate chips

Coating:
1 1/3 cups semisweet chocolate chips or chopped semisweet chocolate
2 tablespoons canola or vegetable oil

Makes the cupcakes:
Preheat the oven to 160 Degree C. Cut out squares of aluminum and press them into a regular 12 muffin tin, letting the edges of the foil overhang the edges. Place the cone in each cup, wrapping the foil around the cone to hold it sturdily in place. If they jiggles the batter will go everywhere.

Put the butter and unsweetened chocolate in a heatproof bowl and place it over a saucepan of barely simmering water. Stir until the butter and the chocolate are melted and smooth. Remove from the water and set aside to cool slightly.

In a small bowl, stir the flour, baking powder and the salt, set aside.

In a large bowl, using an electric mixer on medium speed, beat the eggs and sugar until thickened and lightened in color, about 1 minute. Stop the mixer and scrape the sides of the bowl as needed during mixing. Mix the vanilla. On low speed, mix in the chocolate mixture. Mix in the flour mixture until it is incorporated and the batter looks smooth. Mix in the chocolate chips.

Using a small spoon, fill each ice cream cone with about 1/4 cup batter, to just below the top of the cone. Carefully put the cupcakes in the oven making sure they are still standing upright. Bake just until a toothpick inserted in the center comes out with moist crumbs, but not wet batter, about 28 minutes.

Meanwhile, make the chocolate coating. Put the chocolate and oil in a heatproof bowl and place it over, but not touching, a saucepan of barely simmering water. Stir until the chocolate is melted and smooth. Scrape the chocolate coating into a small bowl.

Dip the top of each cupcakes cone in the chocolate coating, letting any excess drip off, and replace the cones int he muffin tin.

Let the cupcakes sit until the coating is firm, about 2 hours, or less if the kitchen is cool.

A couple of tips here:
I didn't have any unsweetened chocolate (I'm not even sure I can find some around here) so I only put 3/4 cup of sugar and added unsweetened cocoa powder.
I also used some self raising flour so I only pour enough batter to fill half the cone, even so in some of them the batter still went over the top of the cone.
When you fill in the cones, make sure you don't spill any batter outside of them otherwise it'll burn and the cupcakes will actually taste burnt themselves.

Sunday, 1 May 2011

Healthy oat slice

Winter is at our door step and I have found myself eating way too much again. So I wanted to make a healthy snack so when I get busy during the day, I reach for something nutrition instead of the jar of Nutella.
Looking through the Internet I have found this recipe: http://www.taste.com.au/kitchen/recipes/super+healthy+slice,12123.


As it happens, I only had 2 bananas and they were in really bad shape. So I had to improvise. Looking through the pantry I found one tin of diced apples and one tin of apricots in juice. Bingo!
So I used the following ingredients:
- 1/2 tin of diced apples
- 1/2 tin of apricots in juice
- 5 Tablespoons of natural unsweetened yogurt
- 2 eggs
- 2 tablespoons of honey
- 1 and 1/2 cup of oats
- 1 cup of wholemeal flour
- 1/2 cup of almonds and Brazil nuts
- 1/2 cup of dried cranberries, dried strawberries and dried apples.

1- Process the apples and apricots into a purée.
2- Mix all wet ingredients (purée, yogurt, eggs and honey).
3- Mix all the dry ingredients with the wet ingredients.
4- Spray a 20 cm square dish with cooking spray.
5- Pour the mixture in the prepare dish.
6- Bake at 180 degree C for about 30 minutes.

This is not a crispy slice but I guess you could melt some chocolate and drizzle it over, or even cover it with a thin layer of melted sugar mixed or not with other pieces of nuts. I didn't want to add anything because I want it to be healthy. There is no fat, and the sweetness is mainly coming from the fruit... A little bit from the honey but that's supposed to be good for you, isn't it?
Enjoy!